The guide
Railway Photo Printing Tips
Getting a railway photo to print well comes down to three things: resolution, composition, and a level horizon. Nail those and your print looks like it came from a gallery. Here's what to check before you upload.
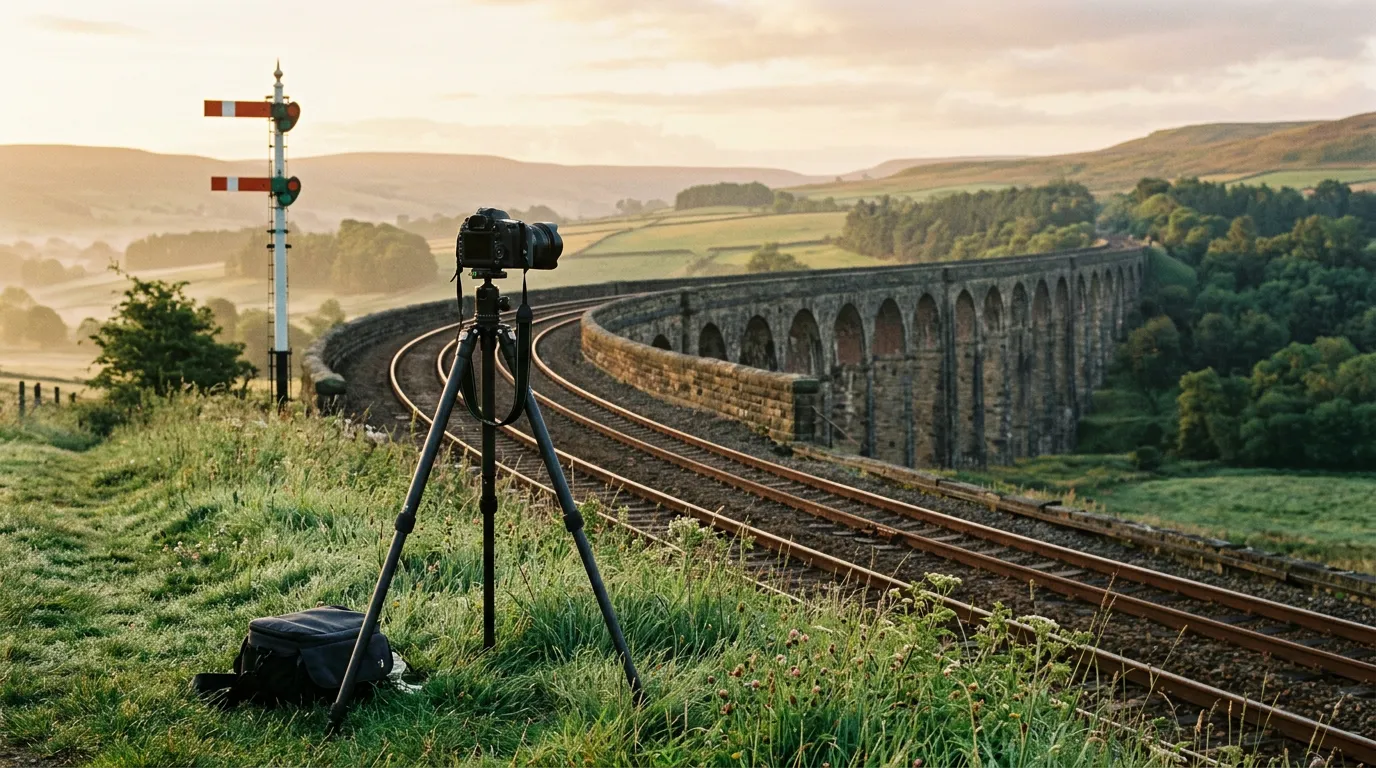
Start with the sharpest original
Use the full-size file from your camera or phone, not a copy you saved off social media — those are compressed and lose detail that shows up badly at A3 or on canvas. If the original is sharp at 100% on screen, it'll be sharp in print. We ask for at least 900 x 900 pixels as a floor.
Give the crop room to breathe
Leave a little space around buffers, pantographs, signals, and smoke so the crop tool has something to work with. Tight crops that clip the front of a loco are hard to fix later. For wall art especially, a small margin around the subject reads as deliberate rather than cramped.
Watch the horizon and the track
Small tilts you'd never notice on a phone become obvious in a framed print, where the frame edge gives the eye a reference. Straighten the horizon and keep the track geometry deliberate. A second of levelling before checkout saves a wonky print on the wall.
Resolution guide by product size
- Mug / card — Small · 900px+ on the short side
- A4 framed print — 210 x 297mm · 1500px+ on the short side
- Large frame / canvas — 400 x 500mm+ · 2000px+ on the short side
- A2 / 24x36 poster — Large · Highest resolution you have
From the platform
Questions, answered
What is the minimum resolution to print a train photo?+
900 x 900 pixels is the floor. For framed prints, canvas, and posters, use the highest-resolution original you have so the result stays sharp at size.
Why does my social media photo look blurry when printed?+
Social platforms compress images and strip detail. Always upload the original file from your camera or phone rather than a re-saved or downloaded copy.
Can you fix a slightly tilted photo?+
You can crop and straighten in the studio before checkout. It is worth doing — small tilts are far more obvious once a photo is framed.